I've switched gears into hardware / mast mode while Pat and Phil have been working on the interior, so the boat looks a lot like it did 2 weeks ago. The annual boat show in Portland was this weekend, so we cleaned up the boat and work area for a photo shoot. Still no takers, so the boat can still be yours! Buy now and you get to pick the color.
 I went up to Sommes Sound on Mt. Desert Island to look at the original mermaids again. Spent a couple hours measuring the locations of fittings on the mast, cleat sizes, line sizes, and talking to an owner about how he set up the running rigging (sheets / halyards). Pretty exciting stuff, as now I know how the rest of the boat is going together. There is nothing left but to buckle down and finish her.
To that end, here is a preview of the cockpit layout, which in my humble opinion, will be nicer than the original mermaids, as the sole and the seats follow the curve of the combing.
 One interesting problem is how to make the hole for the rudder post perfect. It is a 1 1/2" diameter hole which angles thru the keel in such a way to hit the back edge of the lead. There is about 3' between the bottom of the keel and the lead. Here is the solution.
 I start by drilling a 1" hole as best I can, with help from my partners sighting the virtual line from the bottom of the keel to the lead. Then we put a 7/8" rod into the hole and line it up using the bearings you see in the pictures clamped/screwed to the boat. The trick is the rod has a place to hold little cutters which you can stick out anywhere between 0 and 1/2 inch. Once everything is lined up, I can slowly push out the cutters, do a little drilling, and make the hole larger, so even if the original 1" hole was off center, or at an incorrect angle, by the time I've expanded it to 1 1/2" it is perfect.
I'm now waiting for a bronze fitting to continue with the rudder work, so I've switched gears to the spars. The spars are pretty simple on this boat. They are not round, which was a little bit of a disappointment to me, as I have yet to make something round, but I still have the tiller and the spinnaker pole. The boom is a simple T shape.
 The mast is a hollow box, which tapers from the bottom to the top. I spent a few days laying / cutting these side pieces out, much like I would cut out a plank from a long piece of cedar. These are sitka spruce, by the way. The side pieces are only 11/16" at the top, and I had some bad grain run out, so as I was planing down to the final thickness, one of them snapped off. Bummer. Oh well, better to find out now than at the launch. I chopped off the one that made it thru but still looked sketchy and scarphed on new pieces.
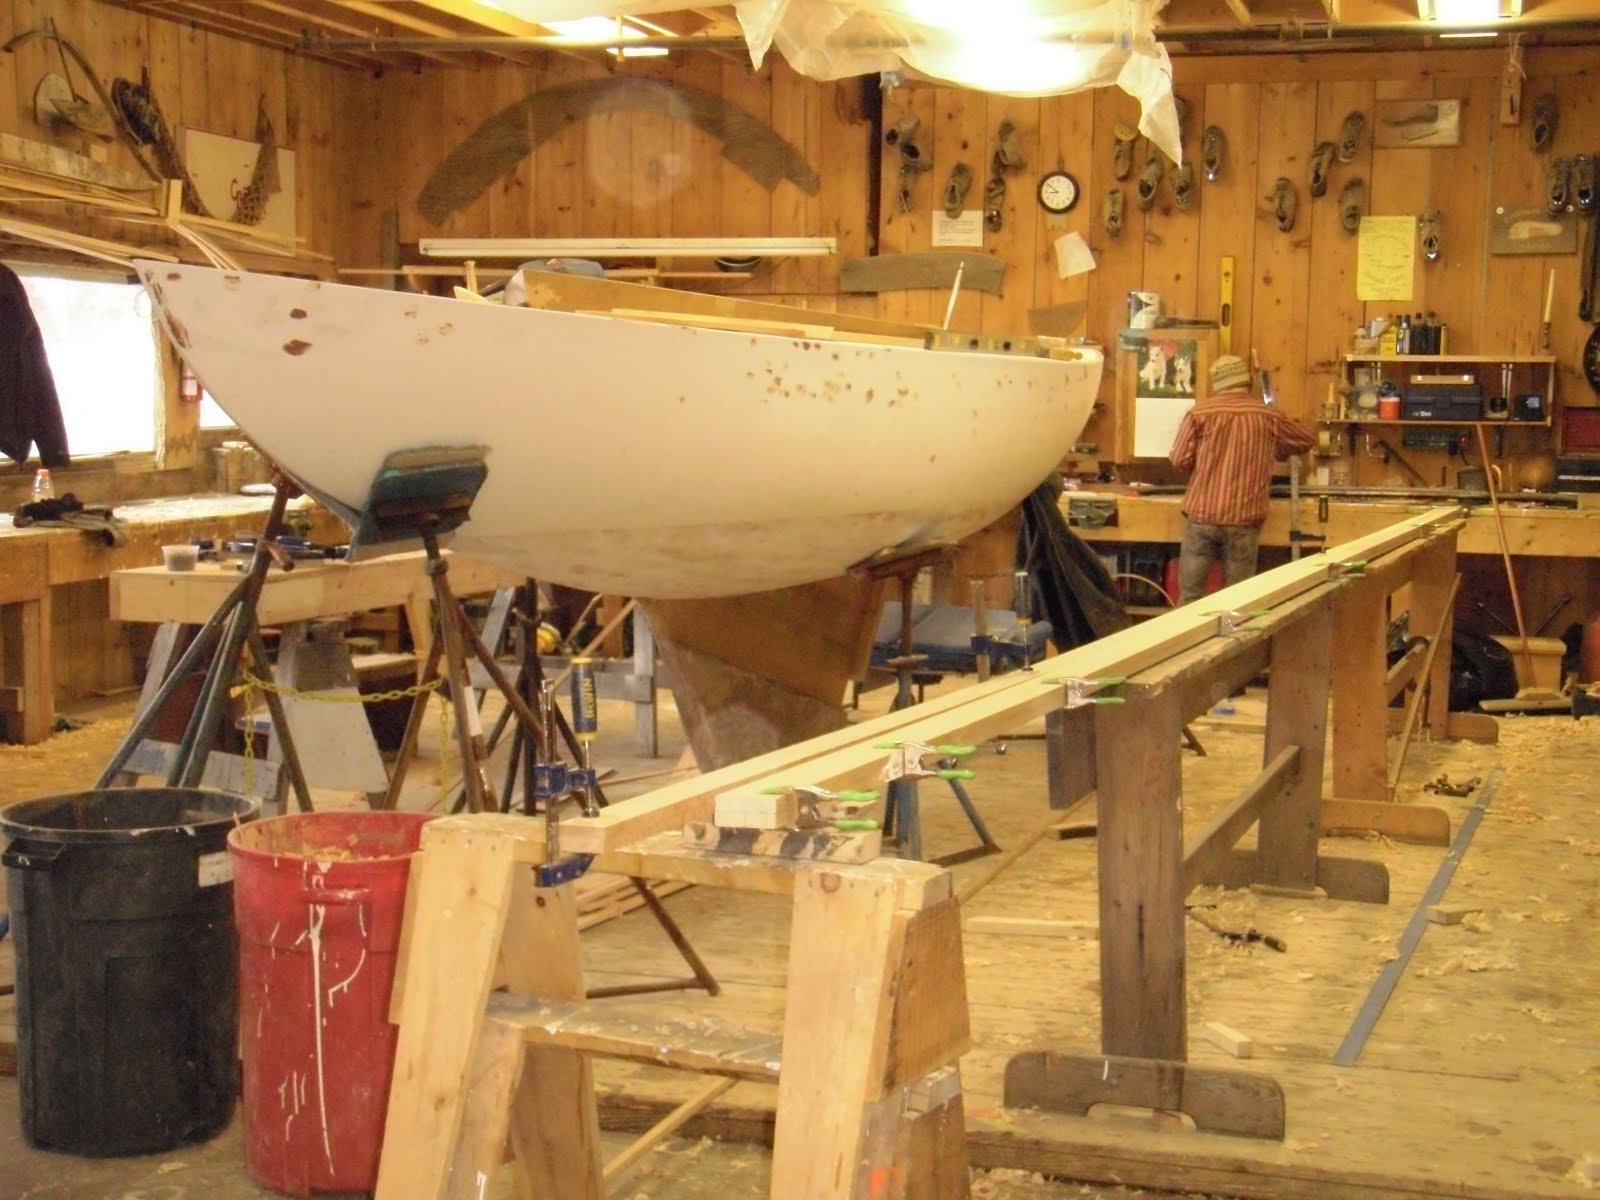 Not too exciting yet, but I now have all the pieces, so this should get glued up next week.
I also awoke the inner engineer and made a spreadsheet of all the fittings we are going to need. In total, there are about 100 individual pieces. A couple will require the services of a welder, 2 will be custom castings, several will be homemade, and the rest will require a lot of cold hard cash. Almost everything will be bronze. There is a salty old collector (and I mean that in the kindest of ways) nearby who has almost everything we need. He collects old hardware, cleans it up and resells it. His property is something straight out of a Wooden Boat feature. . . a small cedar shaked house on the ocean, a large workshop with hardly any space to walk thanks to years of not throwing anything away that could be useful, and a 40' trawler in the "temporary" attached shed which has been in the works for 10 years and launches this summer.
In other shop news, the Haj is all buttoned up and they have begun fairing. They replaced the rudder post, which (knock on wood) should be the last backwards movement on this big renovation project.


